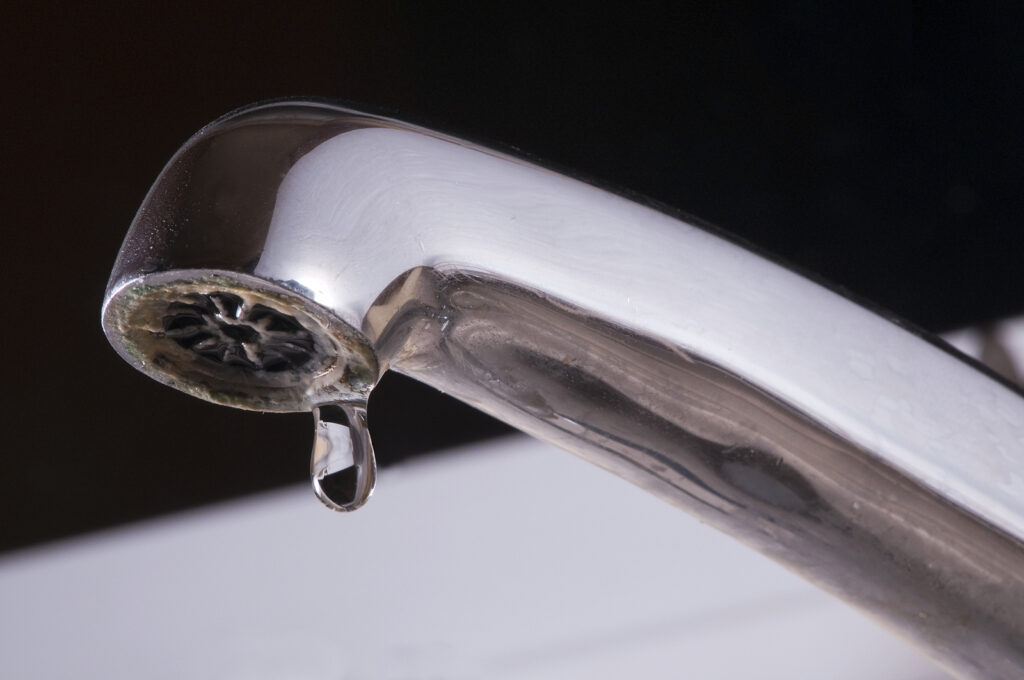
If your faucet is dripping, you may think it is insignificant. But when you realize that the U.S. Geological Survey estimates that one small leak can waste up to 34 gallons of water a year, you may decide that this fix is important. Learn how to diagnose and repair various types of faucet leaks with these easy-to-follow steps.
First Steps
Before you begin, turn off the water supply to your sink. This will prevent damage and further leakage. You'll often find the valve under the sink basin. Now, you can begin by identifying what type of faucet you have.
Open the faucet to remove any pressure within the lines. Once that is done, close the drain to avoid losing any parts. Different types of faucets require different repair methods. It is important that you know the type of faucet you're dealing with.
The two main categories of faucets are compression faucets and washerless faucets. Compression faucets have washers while washerless faucets do not have washers.
Repairing Compression Faucets
Compression faucets use washers to create a tight seal in the faucet that restrains water. Over time these washers can wear down and cause water to leak from the spout. To repair a compression faucet, follow the steps below.
What You'll Need
- Seat washer
- Towel
- Toothless wrench
- Penetrating oil
- Flathead screwdriver
- O-ring
- Hex screwdriver or wrench
Step 1: Remove the cap from each faucet handle
Do this by lifting it up with a flathead screwdriver. You'll find a small circle on the top of the faucet handle. That is the decorative cap. It covers the internal parts of the faucet.
Step 2: Remove the handles
To remove the handles, find out the type of screw they have. You'll need either a hex wrench or a flathead screwdriver to remove them.
Step 3: Remove the stem nut
Now, you'll need to remove the stem nut from the faucet. It holds the stem in place. Do this by using a toothless wrench.
Step 4: Remove the stem and examine the O-ring
Now that the stem is free you can pull it out and examine the O-ring. The O-ring helps to prevent leaks from the faucet handles. If there is any visible damage, you'll need to replace the O-ring with a new one.
Step 5: Find and replace the seat washer
At the bottom of the stem, you will find the seat washer. It is this part that creates a seal and keeps water from flowing out of the faucet when it is closed. It is the most likely cause of your dripping faucet. If this is the problem, replace it with a new one.
To ensure you get the right replacement washer, take it to your local hardware store and request a replacement.
Step 6: Reassemble the faucet
Once you have replaced all of the necessary parts, you can begin reassembling the faucet. Reassemble the faucet in reverse order of how you disassembled it. Start by placing the seat washer back into place followed by the O-ring and then screwing on the stem nut. Make sure it is tight. Then, replace the handles and the cap.
Step 7: Test the faucet
Once you have reassembled your faucet, turn on the water supply and test it out to see if it works correctly. Turn on all of the faucet handles to ensure that they do not leak or drip. If they don't, you have successfully repaired your faucet. Congratulations!
Repairing Washerless Faucets
A washerless faucet uses a disc, cartridge, or ball to control the flow of water. These types of faucets are usually less likely to leak than traditional compression faucets and they often have one handle only.
What You'll Need
- Penetrating oil
- Needle-nose pliers
- Towel
- Flathead screwdriver
- Hex screwdriver or wrench
For a ball faucet, you'll also require:
- Toothless wrench
- Cam washer
- Springs and valve seat set compatible with your faucet model
For a ceramic-disk faucet, you'll also require:
- Neoprene seals
For a Cartridge faucet, you'll also require:
- Cartridge compatible with your faucet model
- O-rings
Step 1: Remove the cap from the handle
To remove the cap, lift it up with a flathead screwdriver. You'll find a small circle on the top of the faucet handle. That is the decorative cap. Beneath it, you’ll find the internal parts of the faucet.
Step 2: Remove the handle
To remove the handle, find out the type of screw holding it in place. You'll need either a hex wrench or a flathead screwdriver to remove it, depending on the screw type.
Step 3: Remove the internal components
Depending on what type of washerless faucet you have, you will need to remove either the cartridge, ceramic disc, or ball.
Ball: To remove the cap and collar of the faucet, use a toothless wrench. Once done, take off the faucet cam, cam washer, and ball to access the inlet seal and springs, which you'll find below.
Cartridge: To access the cartridge, remove the retaining clip. The clip is a small, circular threaded piece. Use needle nose pliers to carefully remove it without causing any damage.
Ceramic Disk: To reach the disk cylinder, take off the rounded metal piece known as the escutcheon cap or bonnet.
Step 4: Examine the different parts
Once you have successfully removed the necessary parts, inspect them for any damage. If there is any visible damage, such as a broken seal or cracked springs, you'll need to replace these with compatible new parts.
Ball: To remove the inlet seal and springs, use needle-nose pliers. Afterward, carefully examine each component to assess whether replacement is necessary. You may have to replace the springs, valve seats, and cam washers.
Cartridge: Lift out the cartridge and examine it and the O-rings. If there is visible damage, you'll need new O-rings or a new cartridge compatible with your faucet model.
Ceramic disk: To remove the neoprene seals, first unscrew and remove the disk cylinder. The seals are located on the underside of the cylinder. Check the seals to see if they need to be cleaned or replaced.
Step 5: Reassemble the faucet
Reassemble your faucet in reverse order of how you disassembled it. Start by replacing the last part you removed. Make sure all parts are securely in place before moving on to the next step.
Step 6: Test the faucet
Once you have reassembled your faucet, turn on the water supply and test it out to see if it works correctly. Turn on all of the handles to ensure that they do not leak or drip. If they don't, you have successfully repaired your faucet. Great job!
Still Having Trouble?
If the faucet is still leaking after reassembly, there may be something else wrong with it and you should call a professional plumber for advice. They can quickly identify and fix the problem so that you don't continue to waste water and money due to the leak.
Contact Titan Plumbing And Electric For Expert Faucet Repairs
If you're still having trouble fixing your dripping faucet, Titan Plumbing and Electric offers full-service plumbing repairs. Our experienced technicians can diagnose and repair any plumbing issues quickly and with skill. We have the tools, knowledge, and experience to get your faucet back up and running in no time. Contact us today at 813-933-8010 for reliable and affordable faucet repairs. We look forward to hearing from you.